Table of Contents
Webuzo is a single-user control panel designed to simplify server management and hosting tasks. It allows users to manage their websites, databases, emails, applications, and various server functionalities from a user-friendly interface. Webuzo is typically used on VPS (Virtual Private Server) or dedicated servers and is often provided by hosting providers for managing servers without needing to use the command line extensively.
Key Features of Webuzo Control Panel:
- Easy-to-Use Interface:
- Webuzo provides a simple, intuitive dashboard that helps users manage their server with minimal technical knowledge. It is designed to be user-friendly and offers a streamlined experience.
- Web Application Installer:
- One of the standout features of Webuzo is its app installer, which allows users to install popular web applications with a few clicks. Applications like WordPress, Joomla, Drupal, Magento, and many others can be easily installed and configured.
- Email Management:
- Webuzo allows users to set up and manage email accounts, including creating new email addresses, setting up email forwarding, configuring spam filters, and accessing Webmail (Roundcube, Horde).
- Database Management:
- Webuzo supports various databases such as MySQL, PostgreSQL, and others. Users can create, manage, and back up databases through the interface.
- File Management:
- Users can upload, manage, and back up files using the File Manager feature, making it easy to handle website files and directories directly from the Webuzo dashboard.
- Security Features:
- Webuzo provides various security options, including managing firewall settings, SSL certificates, SSH access, and more. Users can enhance the security of their server and web applications with ease.
- Multi-Server Support:
- Though primarily a single-user control panel, Webuzo can manage multi-server setups for users who need to manage more than one server from a single interface.
- Backup and Restore:
- Webuzo includes options to backup and restore both websites and databases, which is essential for disaster recovery and routine maintenance.
- Server & System Management:
- It helps manage server resources such as CPU usage, disk space, and memory usage. Users can also monitor server health and performance.
- Support for Multiple Languages:
- Webuzo offers multilingual support, making it accessible to a wider audience globally.
Common Use Cases:
- Web Hosting: Ideal for website owners and developers who need an easy-to-manage hosting environment.
- Server Management: Webuzo is perfect for those managing a VPS or dedicated server and need a simple control panel to manage resources, domains, email, and applications.
- Small Businesses and Developers: Webuzo is often used by small businesses and developers who don’t require the complexity of larger control panels like cPanel/WHM but still need robust server management features.
To create an email account in the Webuzo control panel, follow these steps:
1. Log into Webuzo Control Panel:
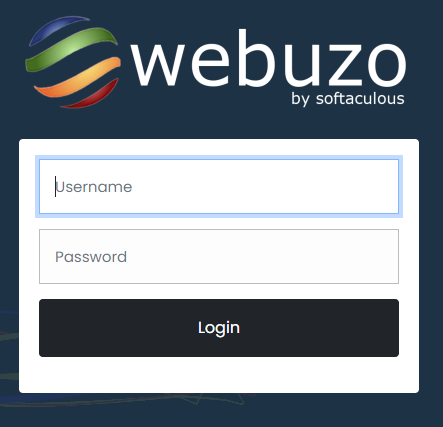
- Open your web browser and go to your Webuzo control panel URL (usually something like
https://yourdomain.com:2002orhttps://IPaddress:2002).

- Enter your Admin credentials to log in.
2. Access the Email Management Section:
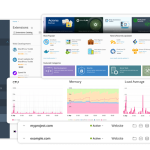
- Once logged in, you will be on the Webuzo dashboard.

- In the Email section, click on Email Accounts or go to the Email tab in the left-hand menu.
3. Create a New Email Account:
- In the Email Accounts section, you will see an option to create a new email account. Look for a button like Create Account, Add New Account, or something similar.

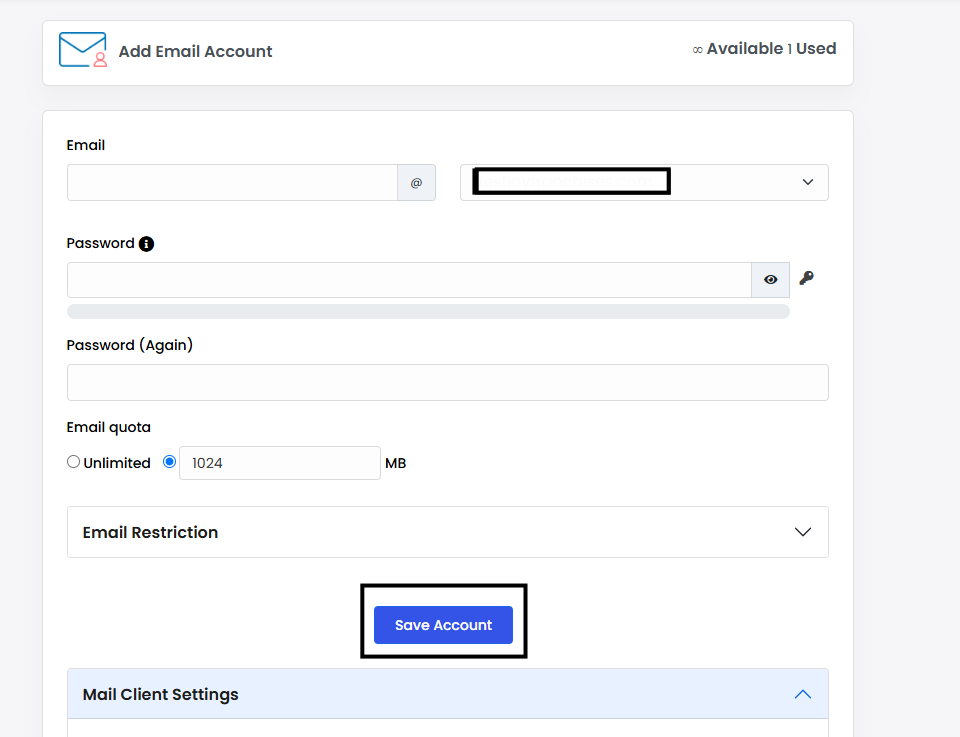
4. Fill Out the Email Account Details:
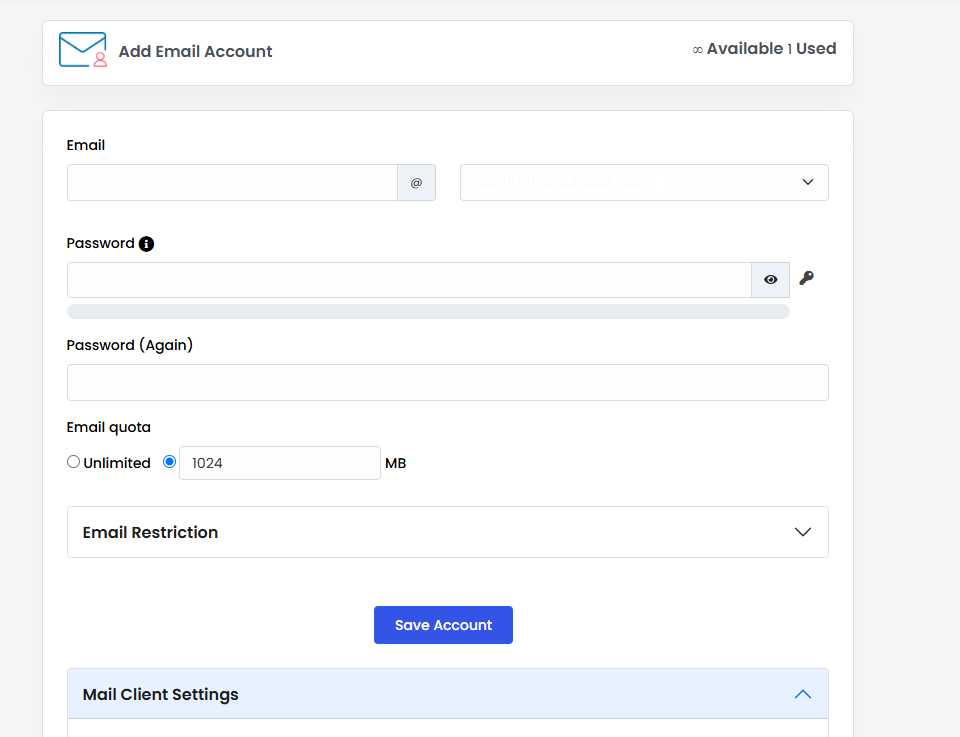
- Domain: Select the domain for which you want to create the email account (if you have more than one).
- Email Address: Enter the desired email address (e.g.,
username@yourdomain.com). - Password: Set a strong password for the new email account.
- Quota: Optionally, set the disk quota for the email account (the amount of storage space the account can use for emails).
- Other Options: There may be additional options, such as forwarding, IMAP/POP settings, or spam filtering, depending on your Webuzzo version.
5. Save the Account:
- After filling out the necessary details, click on Create or Save.
6. Verify the New Email Account:
- You should now see the new email account listed in the Email Accounts section.
- To access it, you can use Webmail (e.g., Roundcube or Horde) or configure the account with an email client (like Outlook or Thunderbird).

7. Access Webmail (Optional):
- You can access the email through the Webmail option by clicking on the Webmail icon in Webuzzo. You will be prompted to enter your email credentials to access your inbox.
Additional Tips:
- If you need to configure email forwarding, spam filters, or other advanced settings, you can do so from the Email Settings section in Webuzzo.
- Make sure you configure your DNS records (MX records) properly if you’re setting up email for a new domain.
This is a basic guide, and the interface might vary slightly depending on the version of Webuzzo you’re using.