
To install a free SSL certificate in Plesk, you can use the Let’s Encrypt extension, which provides free SSL certificates. This post will describe you a way to enable Let’s Encrypt SSL Certificate for your desired website/domain from the Plesk control panel.
Table of Contents
What is Let’s Encrypt
Let’s Encrypt is a free, global Certificate Authority (CA) which will lets your secure HTTPS connections among your web server and your visitors’ web server to preserve your fragile data from attacks, data tampering, and message forgery. It is completely valid till 90 days. You can renew it automatically by putting a cron (Daily, Weekly or monthly) from Scheduled Task feature.
Steps to enable let’s encrypt Free SSL
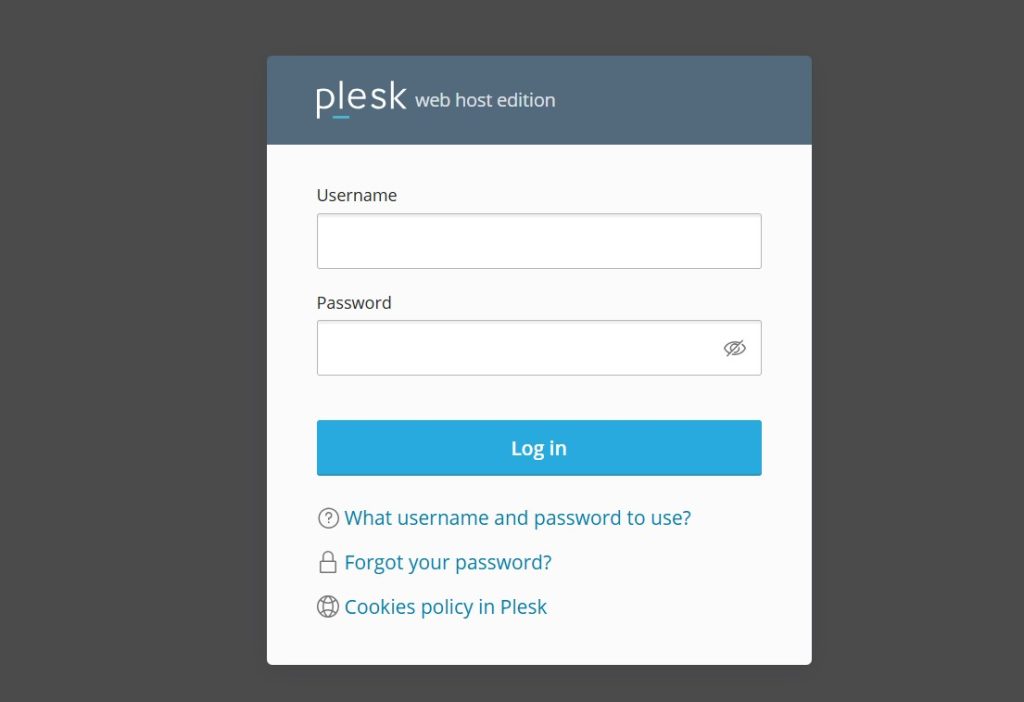
Login into Plesk Control Panel.
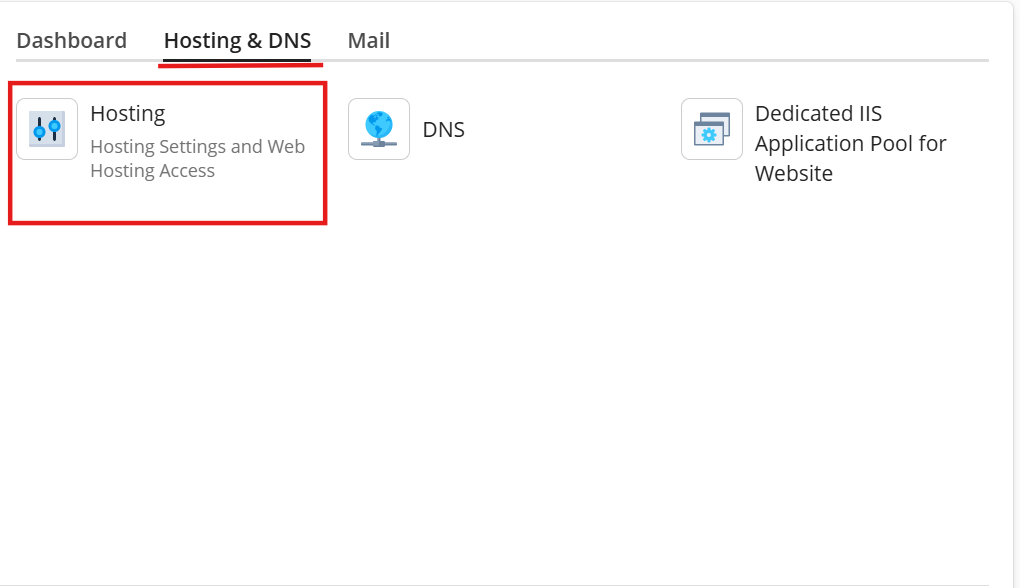
Click on the Hosting & DNS then click on Hosting.
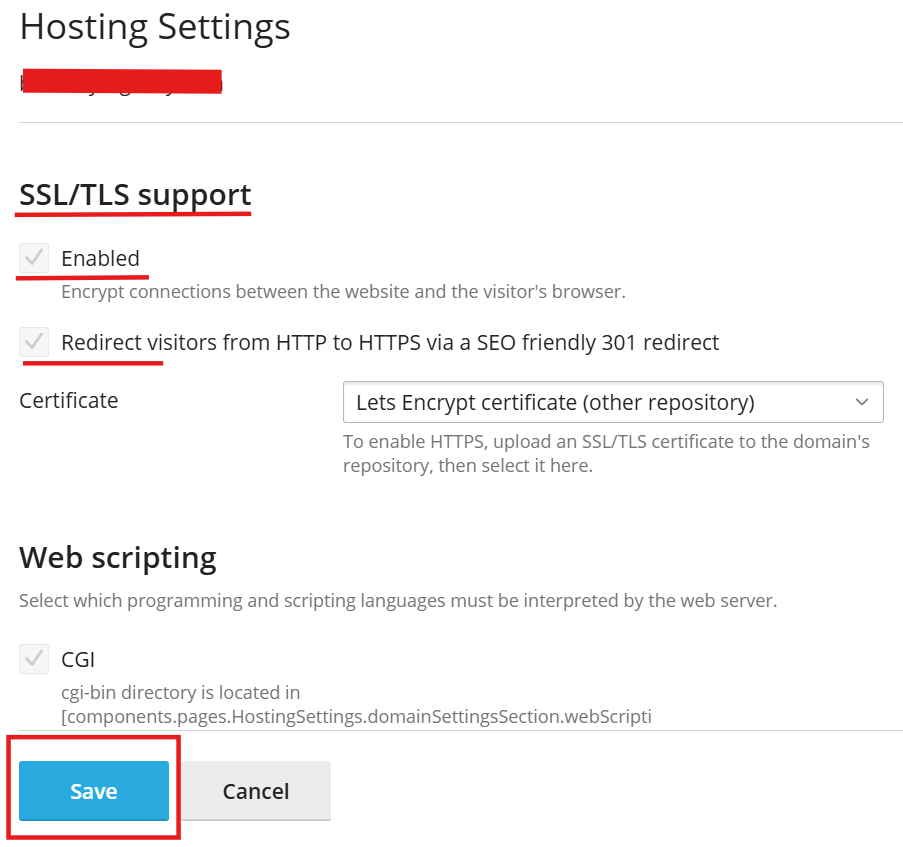
Under SSL/TLS support enable the check boxes and save.
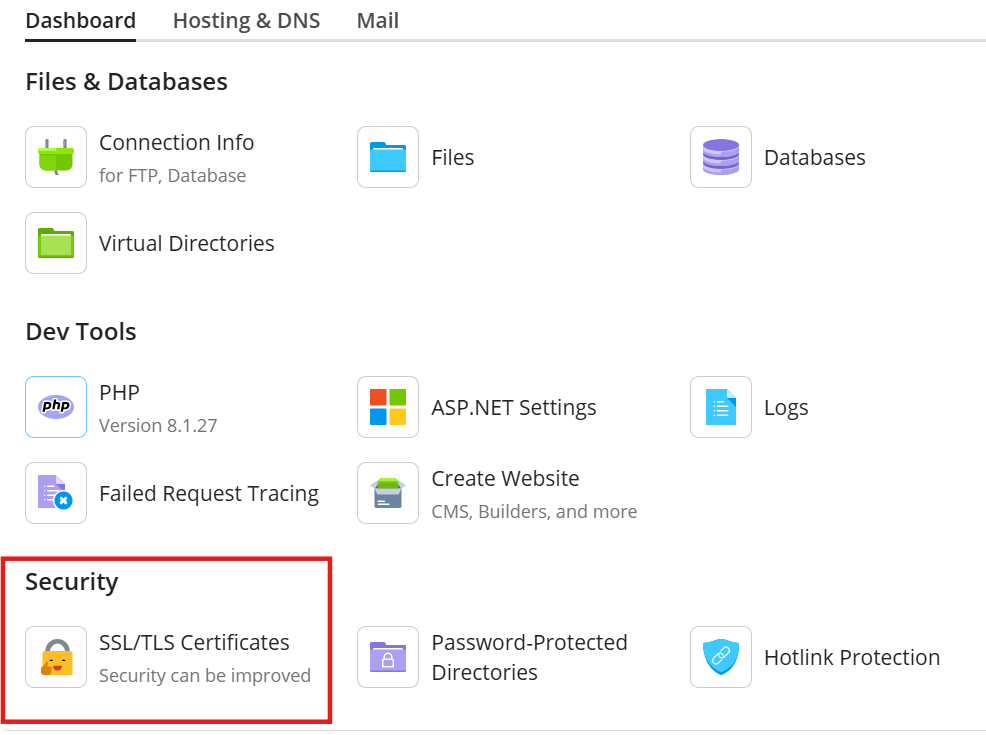
Then Go to Dashboard Click on SSL/TLS Certificate
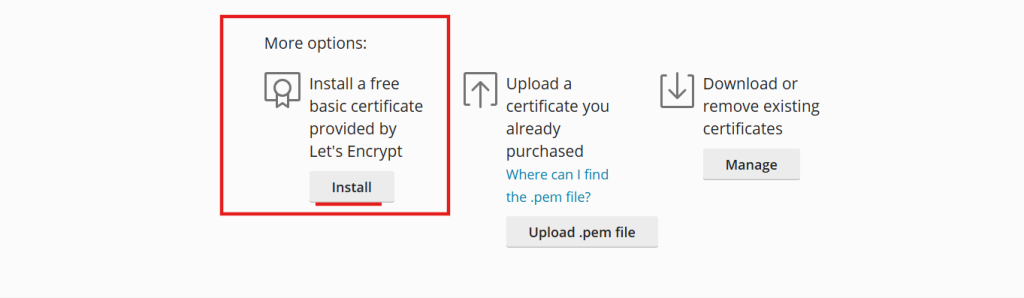
Scroll down click on Install a free basic certificate provided by Let’s Encrypt then click on Get it Free.
Then go back to Dashboard and Hosting & DNS click on Hosting.
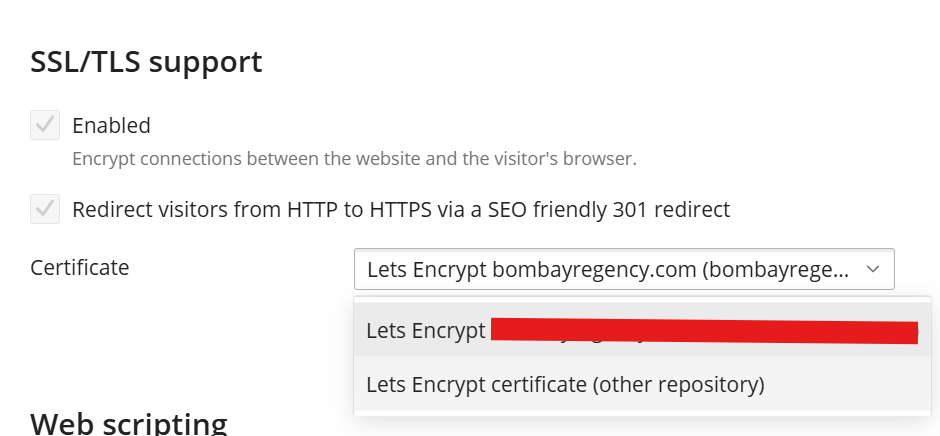
Click on the Certificate drop down under SSL/TLS support choose the Let’s Encrypt you have installed and Save.

